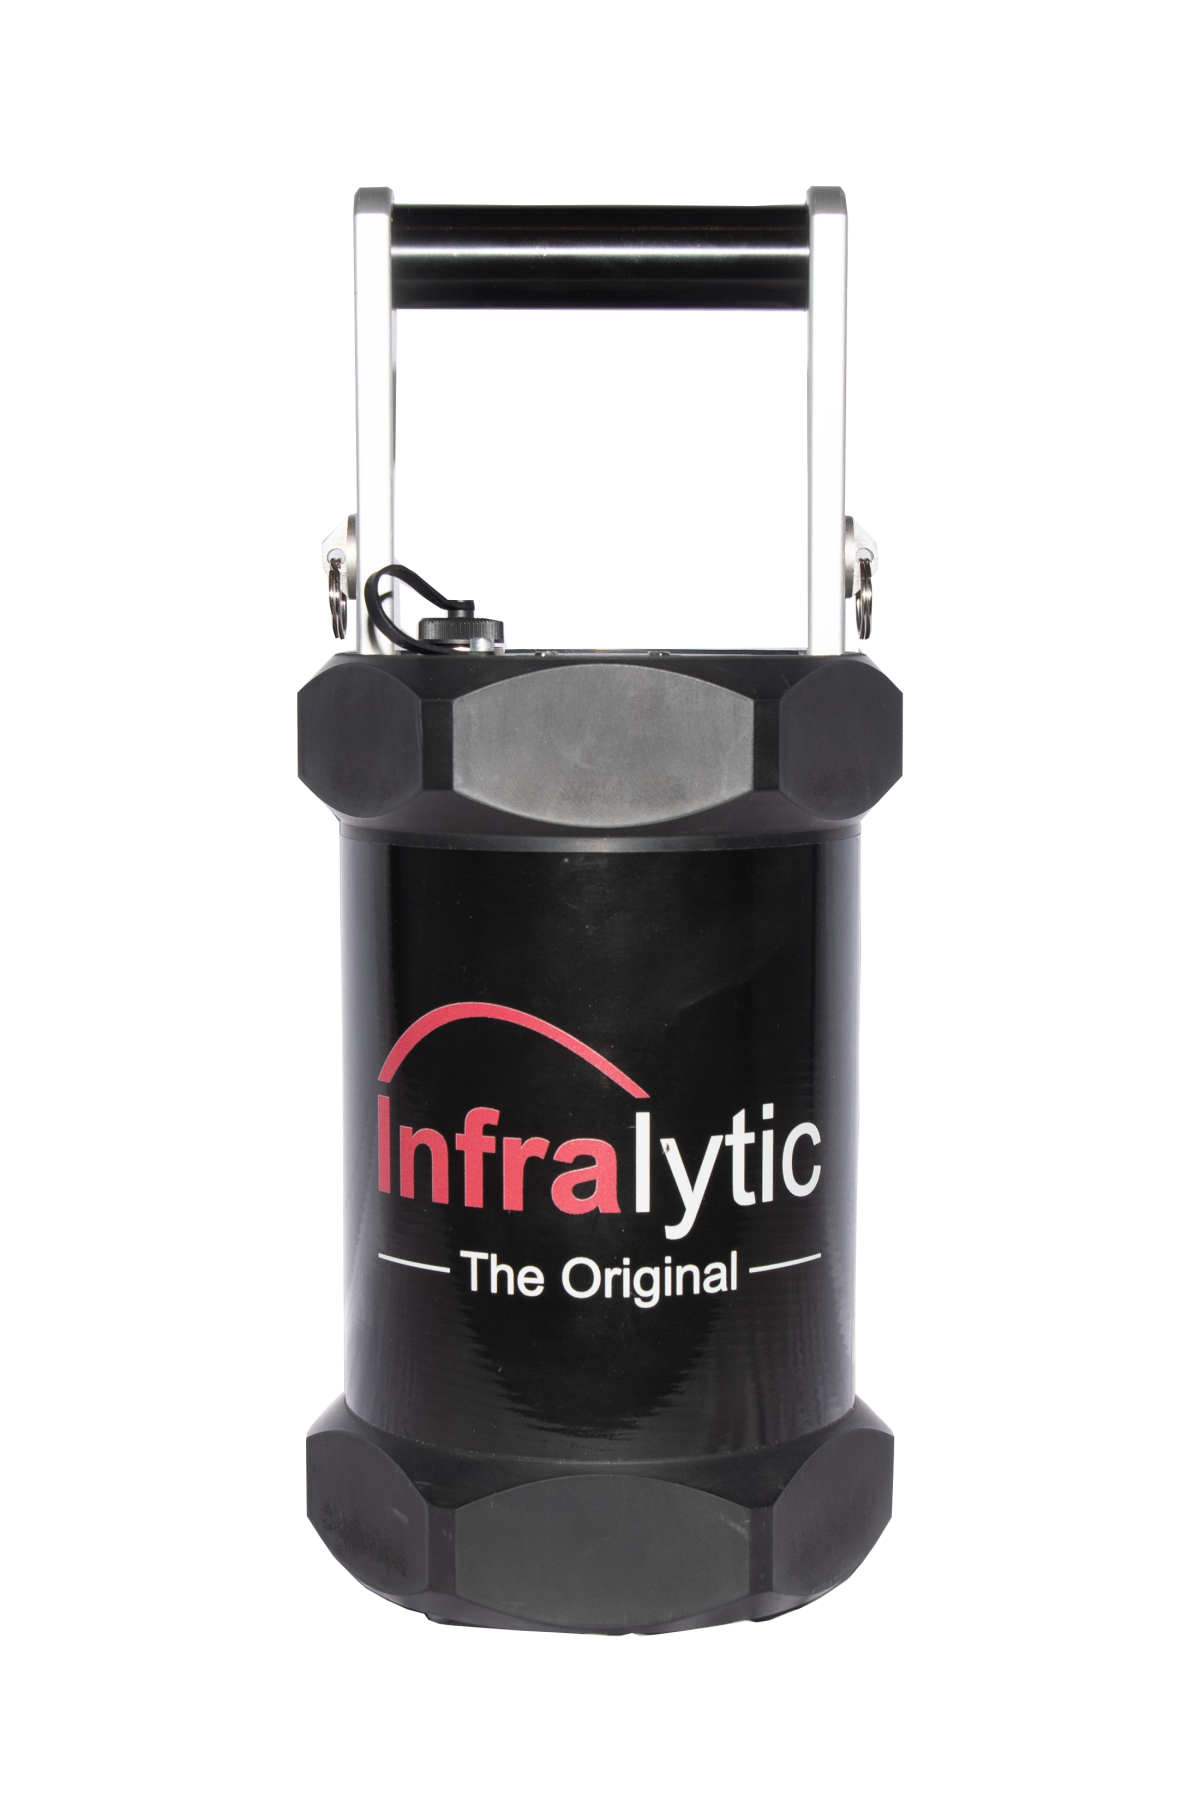
The light, user-friendly handheld device NG2 corresponds to the latest state of the art and enables more precise layer thickness measurements than all comparison methods. In less than a second you get the measured value of the oil layer thickness in g/m² or mg/m².
Through continuous optimization and adaptation to specific customer requirements, we can offer you a long-term stable measuring device according to your wishes. The technology used here, developed by Infralytic GmbH, has become a worldwide standard. The application spectrum ranges from the rolling mill, in which initial oiling takes place for the purpose of corrosion protection and / or for the application of preforming oils, through metal processors and stampers all the way down to car makers.
For the steel and aluminum processing industry, defined oiling for molding processes is essential today. Our technology now specifies the oil in measured values. This measured value, the mean value of the last measurements and the set device parameters are shown on the clear graphic display. The internal memory allows you to save up to 500 measured values and, if necessary, these can be called up on a PC / laptop / tablet or phone.
All calibrations are interchangeable among the devices of the NG group and can easily be transferred to other measuring devices of the NG series. This applies not only to the handheld devices but also to the inline oil layer thickness sensors NGO3. Calibration transfer from the handheld device to the inline sensor and vice versa.
- internal automatic continuous validation review
- internal automated material rolling direction determination
- can be operated via smartphone with photo documentation
- Battery operated for more than twelve hours
- Easy to use
- flexible use in a wide variety of environments
The measurable oil thickness is between 0.05 and 6 µm (approximately g/m²) oil layer thickness.
Calibrations are standard for:
- untreated cold sheet
- hot-dip galvanized sheet
- fire-aluminum sheet
- electrolytically galvanized sheet (automatic phosphating detection)
- galvannealed
- Aluminum (mill finish and EDT)
Aluminum surfaces as well as some steel surfaces are very inhomogeneously structured. They must always be measured with the handle at right angles to the rolling direction
You will have read this note many times. But what if the direction of rolling cannot be seen with the naked eye?
Then the compass function, which can be provided for Infralytic NG2 sensors, will help you.
Here you will find more information about the compass function.
Just take a few measurements in passing? Sure it’s possible!
And best of all: The measured data is immediately available for evaluation. Use our Infralytic Android App for this.
Here you can find more information about the smartphone app.
Over 80 calibrations are available from stock.
Upon request, users can develop and program specific calibrations on their own. New functionalities in connection with the associated software allow you to develop your own calibrations easily.
Measurement method:
Infrared spectroscopy
Measuring range:
0.05 – 6 g/m²
Measurement accuracy:
up to 0.3 g/m²: ± 0.015 g/m²
from 0.3 g/m²: ± 3 %
Repeatability:
< 0.0010 g/m²
Measurement resolution:
up to 0.001 g/m²
Surfaces:
all that are not extremely shiny e.g.
Cold strip, hot-dip galvanized,
electrolytically galvanized, phosphated,
aluminized ZnMg surfaces, galvanized
Aluminum – uncoated, pre-treated
Lubricants:
Mineral oil, tixotropic mineral oils, hotmelt, waxes,
other organic lubricants after special calibration
Measuring distance:
8 mm +5 / -2 mm
Ambient temperature:
+0°C to 45°C
Protection class:
IP 65
Starter Set
Starter Set (Russian)
Menu description
Description of battery charge
Description of battery charge (Russian)
.
