The
compass

The compass
Why is the rolling direction important for my oil layer thickness measurement?
All rolling processes produce anisotropic structures in the material as shown on the surface. In the infrared-optical measurement of lubricant deposits on rolled. However, metal surfaces (sheets) are only interested in the structures of the surface.
These are most pronounced with aluminum immediately after it has been rolled down (mill finish), but also with aluminum EDT post-structured hot-dip zinc as well as all other surfaces.
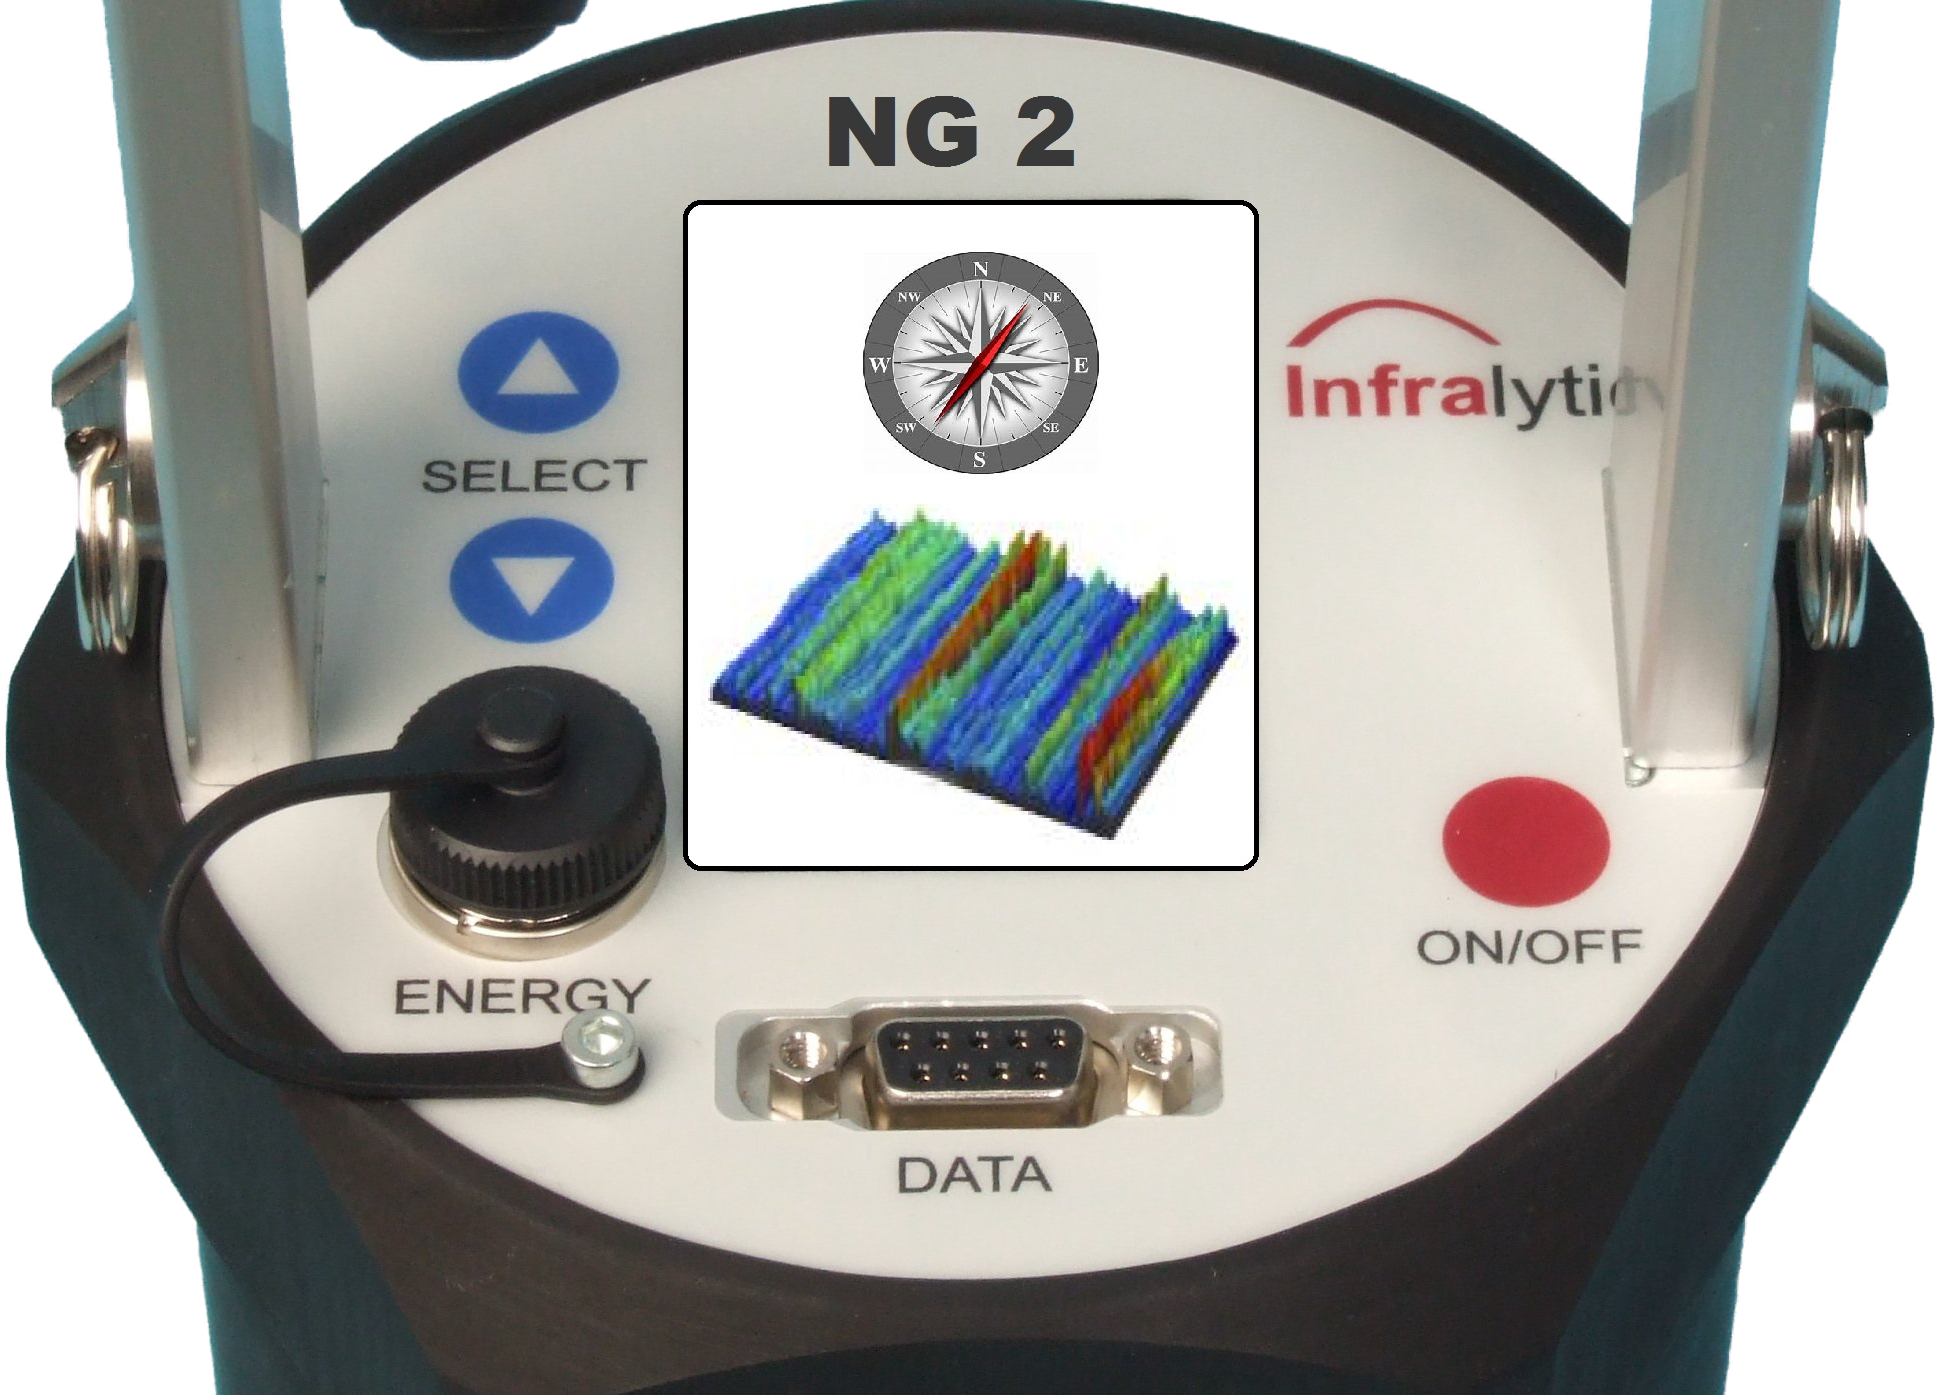
The measuring light of all Infralytic NG sensors always falls on the surface at an angle and gets scattered in all directions (diffuse) there, so it makes a big one difference between whether the measuring light shines across the rolling direction on the ‘mountain flanks’ or parallel to the rolling direction ‘into the valleys’.
Since it has been shown that a measurement “transverse” to the rolling direction is better and provides more stable results, all calibrations are based on anisotropic surfaces made with the measuring light perpendicular to the rolling direction.
The plane in which the measuring light lies is also “indicated” by the handle, i.e. the handle must be at right angles to the direction of rolling. Figuratively speaking, the handle is the axis of the coil, the material runs under it handle through.
Any questions? We look forward to your question.
Contact
Infralytic GmbH
Alter Kirchhainer Weg 22
35039 Marburg
Tel:+49 (0) 6421 167764
E-Mail: sales@infralytic.de


