Our latest innovation in the area of paint measurement revolutionizes conventional methods such as beta transmission measurement and overcomes their limitations. By using advanced infrared sensors, we enable precise measurements of the absolute paint layer thickness and its distribution (homogeneity).
Our sensors are particularly characterized by their ability to measure paint layers with a thickness of < 0.5 µm of transparent and very dark paints extremely accurately. This high precision ensures reliable results even with demanding insulating paints.
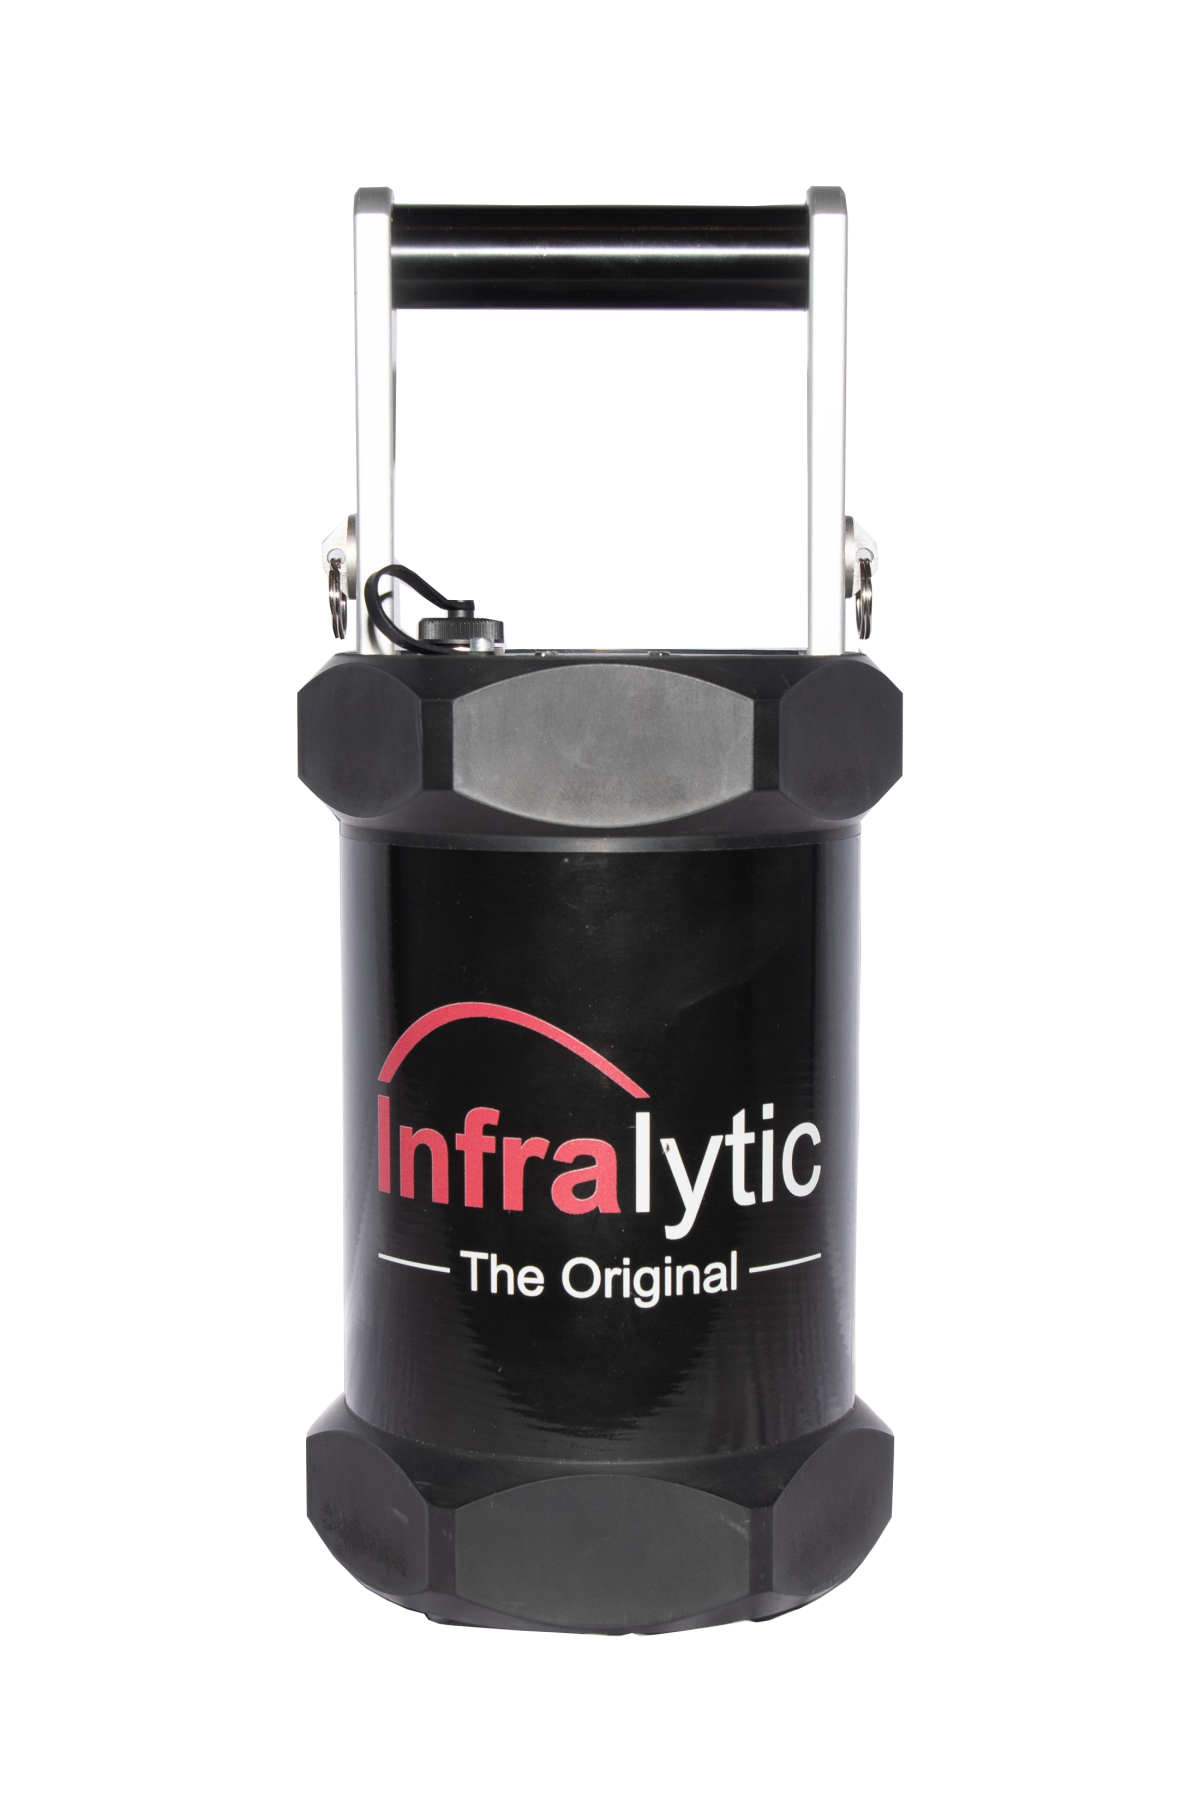
The NG2 handheld device provides you with the measured value in less than a second. Using a free app, you can conveniently display the measured values as a table or diagram on an Android device. In addition, you have comprehensive options for further processing and analysis of the measurement data, including sharing and with intuitive operation for efficient work.
- internal automatic continuous validation review
- internal automated material rolling direction determination
- can be operated via smartphone with photo documentation
- Battery operated for more than nine hours
- Easy to use
- flexible use in a wide variety of environments
- Calibrator of the UV-Mini
- Battery tester
The measurable oil thickness is between 0.05 and 6 µm (approximately g/m²) oil layer thickness.
Calibrations are standard for:
- untreated cold sheet
- hot-dip galvanized sheet
- fire-aluminum sheet
- electrolytically galvanized sheet (automatic phosphating detection)
- galvannealed
- Aluminum (mill finish and EDT)
Aluminum surfaces as well as some steel surfaces are very inhomogeneously structured. They must always be measured with the handle at right angles to the rolling direction
You will have read this note many times. But what if the direction of rolling cannot be seen with the naked eye?
Then the compass function, which can be provided for Infralytic NG2 sensors, will help you.
Here you will find more information about the compass function.
Just take a few measurements in passing? Sure it’s possible!
And best of all: The measured data is immediately available for evaluation. Use our Infralytic Android App for this.
Here you can find more information about the smartphone app.
Over 80 calibrations are available from stock.
Upon request, users can develop and program specific calibrations on their own. New functionalities in connection with the associated software allow you to develop your own calibrations easily.
Measurement method:
Infrared spectroscopy
Measuring range:
> 0,05 – 6 g/m²
Measurement accuracy:
0,02 – 0,3 g/m²: +/- 0,015 g/m²
0,3 – 2 g/m²: +/- 0,2 g/m²
> 2 g/m²: +/- 10% from the measured value
Repeatability:
< 0,0010 g/m² Measurement resolution:
up to 0,001 g/m²
Surfaces:
all that are not extremely shiny e.g.
Cold strip, hot-dip galvanized,
electrolytically galvanized, phosphated,
aluminized ZnMg surfaces, galvanized
Aluminum – uncoated, pre-treated
Lubricants:
Mineral oil, tixotropic mineral oils, hotmelt, waxes,
other organic lubricants after special calibration
Measuring distance:
8 mm +5 / -2 mm
Ambient temperature:
+0°C to 45°C
Protection class:
IP 65
Starter Set
Starter Set (Russian)
Menu description
Description of battery charge
Description of battery charge (Russian)
.
