Any questions? We look forward to your question.
Traversing continuous Paint layer sensor measurement
Infralytic is considered the most innovative developer and manufacturer in infrared measurement technology.
We have over 20 years of know-how in the non-contact measurement of smear and paint layers on metal surfaces.
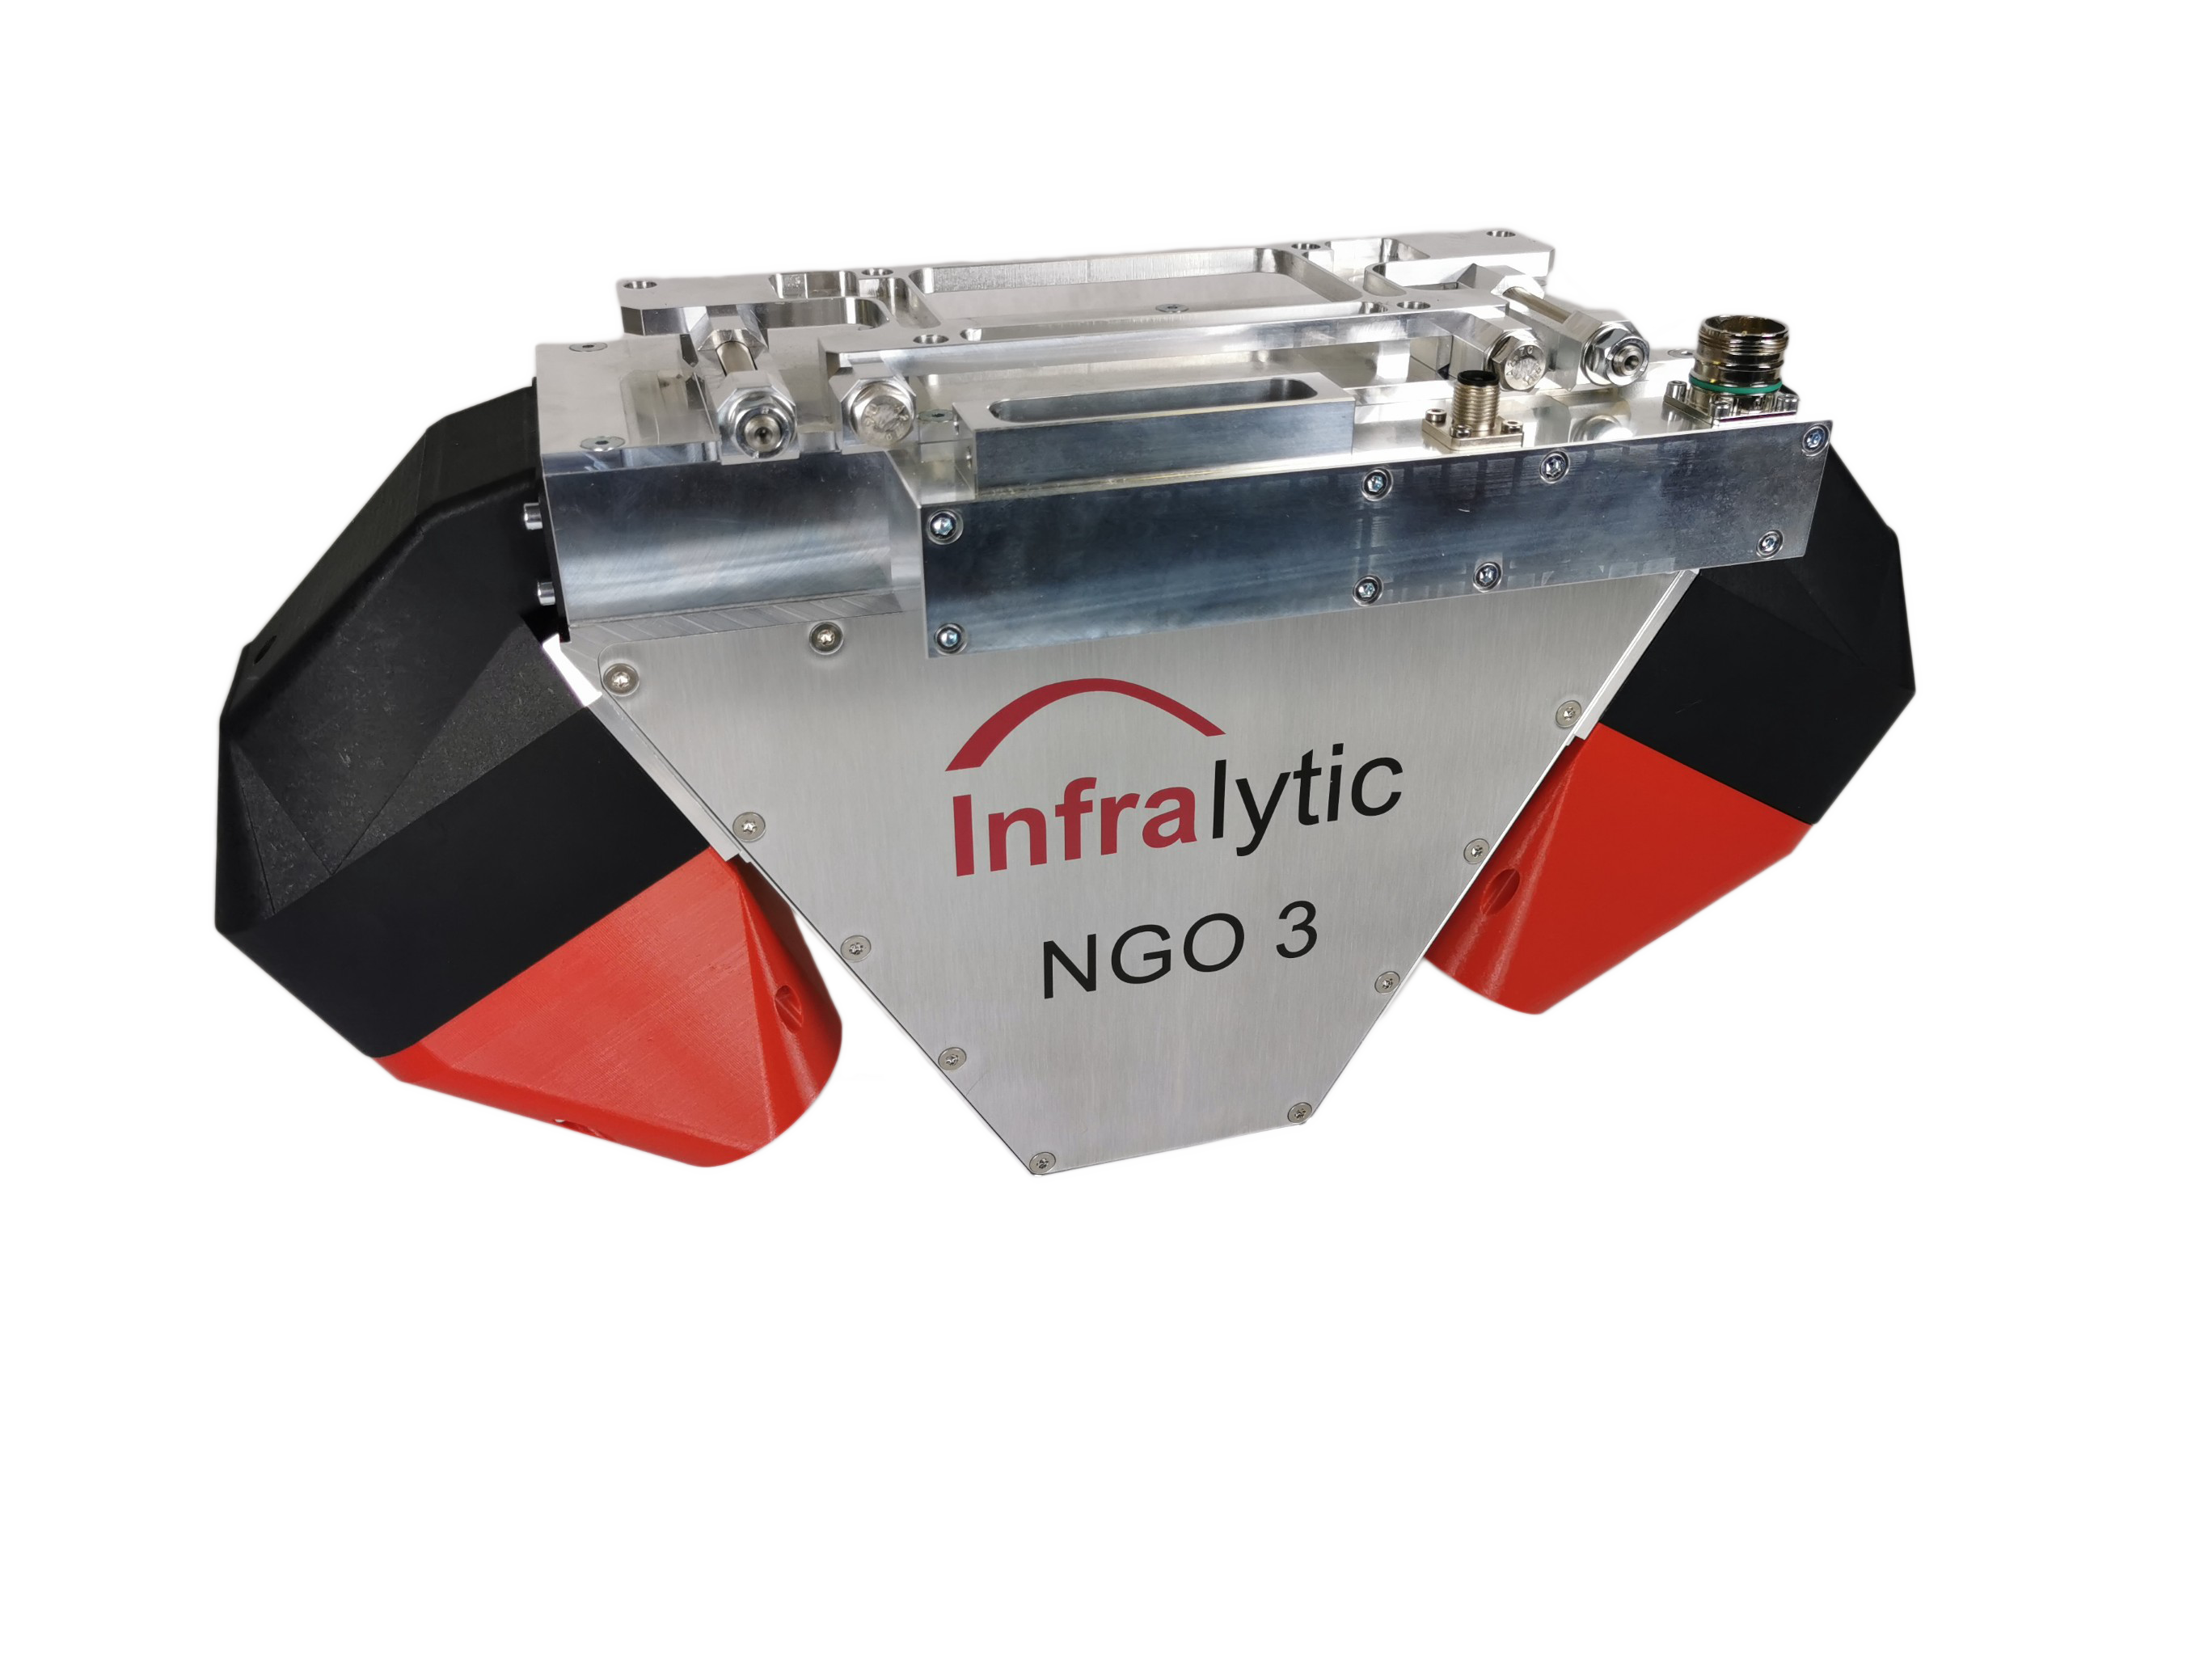
The inline sensors are specially designed for automated and continuous measurement, for example in conveyor systems.
Our experienced integrators implement your wishes and requirements for inline paint layer thickness measurement quickly and easily.
Current measurement methods such as beta transmission measurement are reaching the limits of what is possible. With our highly developed IR sensors, we determine the absolute paint layer thickness and its distribution in real time.
Transparent and very dark paint layers < 0.5 µm are absolutely measured by our sensors with the highest accuracy. Traversing at a speed of 4 m / s, the paint layers of your electrical sheets are measured at up to 450 Hz. The measured values are displayed in the diagram, as a false color carpet or in a desired visualization.
Paint layers < 0.5 µm and very dark paints are absolutely measured by our sensors with the highest accuracy. Traversing at a speed of 2 m / s, the paint layers of your electrical sheets are measured at up to 450 Hz. The measured values are displayed in the diagram, as a false color carpet or in a desired visualization.
[/av_tab]
[av_tab title='Features' icon_select='yes' icon='uf1e9' font='entypo-fontello' custom_id='' av_uid='av-2rkwka']
- Calibration transfer between handheld device NG2 and the inline measuring head NGO3
- non-contact measurement in real time
- internal automatic continuous validation review
- color, graphic display
- Independent of the line speed
- Band vibration compensation
- 200 mm safety distance between measuring head and material
- all common oil qualities pre-calibrated
- Independent of oil mixing
- IP 65
The standard measurable oil thickness is between 0.05 and 6 µm (approximately g / m²) oil layer thickness.
Calibrations are standard for:
- untreated cold sheet
- hot-dip galvanized sheet
- fire-aluminum sheet
- electrolytically galvanized sheet (automatic phosphating detection)
- galvannealed
- Aluminium (Millfinish and EDT)
Using the Lambert Beerschen law, the NGO3 determines the oil layer thickness.
The thickness of the oil layer is directly related to the absorption of the light. The light rays penetrate the oil layer twice. The specific wavelengths are partially absorbed by the oil and evaluated. This measuring principle works largely independent of the type of oil, so oil mixtures do not affect the measurement results accountably.
Measurement method:
Infrared spectroscopy
Measuring range:
0.02 - 6 g / m²
Measurement accuracy:
up to 0.7 g / m²: ± 0.025 g / m²
from 0.7 g / m²: ± 3.5 %
Repeatability:
± 5 nm without smoothing (120 Hz)
± 0,8 nm with smoothing
Measurement resolution:
up to 0.01 g / m²
Surfaces:
all that are not extremely shiny e.g.
Cold strip, hot-dip galvanized,
electrolytically galvanized, phosphated,
aluminized ZnMg surfaces, galvanized
Aluminum – uncoated, pre-treated
Lubricants:
Mineral oil, tixotropic mineral oils, hotmelt, waxes,
other organic lubricants after special calibration
Measuring distance:
200 mm + 20 / - 20 mm
Measurement frequency:
default 120 Hz (up to 450 Hz)
Speed off transversing unit:
up to 2 m / s
Ambient temperature:
+ 5 °C to 55 °C
Cleaning interval:
up to 12 months (depending on the environment)
Protecion class:
IP 65
.
3R Technics Slovakia s.r.o.
Mečíková 54
841 07 Bratislava
Slowakische Republik
Mobile: +421-908-60 77 96
Phone: + 421-2-64 76 16 48
e-mail: mar@3R-Technics.com
www.3R-Technics.com
3R Technics GmbH
Technoparkstrasse 1
8005 Zürich
Schweiz
Phone: +41-76-443 13 03
e-mail: info@3R-Technics.com
www.3R-Technics.com
.
